27/04/2013: Almost May already! This year is going so fast!
02/04/2013: Happy Easter. I hope everyone had a fantastic weekend.
01/01/2013: Happy New Year!!
24/12/2012: Merry Christmas!!
13/11/2012: Getting hand-made presents ready for Christmas!!

Friday, March 30, 2012

Little Hexagons


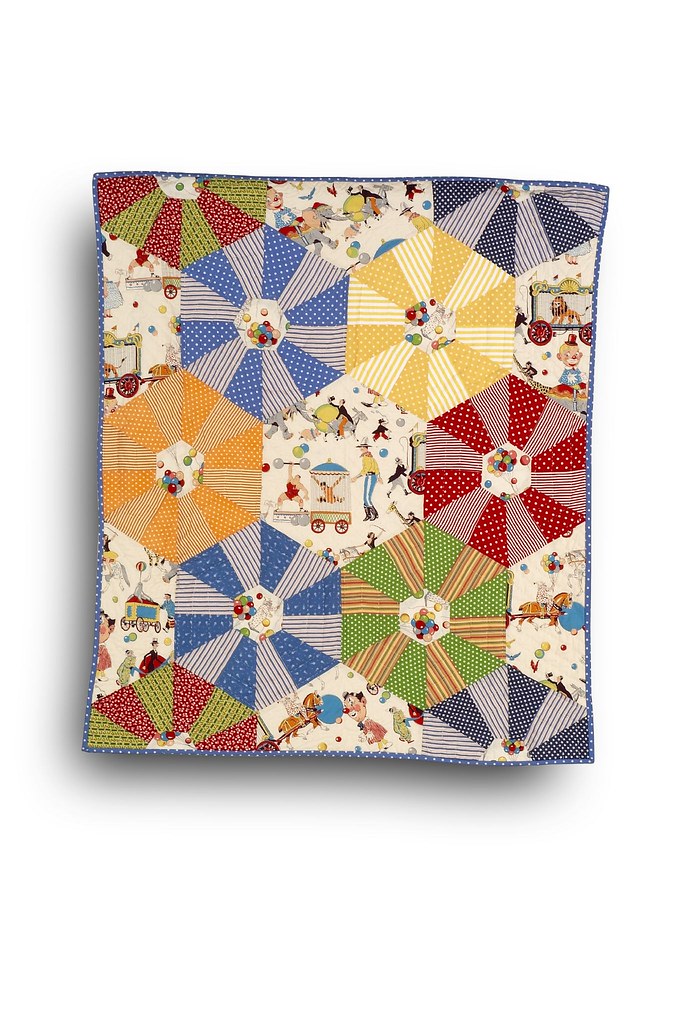
Now an update on the one inch hexagons! Last time we really talked about these was December 20... Three months later and I've completed 3 more diamonds, taking my total up to 6 diamond blocks completed.

I've taken a picture here with them placed so they're touching to get an idea of the overall look and with one a little seperate so you can see the individual block as well. The white threads you can see are my basting stitches which hold the paper templates in place. These will be removed eventually.

I really enjoy making these when I want something mindless to do. I have a heap of hexagons already basted, so I baste a few triangles, then sew them to the hexagons on two sides to form diamonds, then sew 9 of these together to make the larger 3x3 diamond blocks. Being a 1" hexagon means that not only is the flat of the hexagon 1 inches long, but the equilateral triangle also has 1 inch sides as well. They're quite tiny!

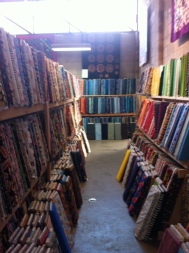
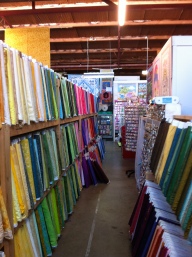
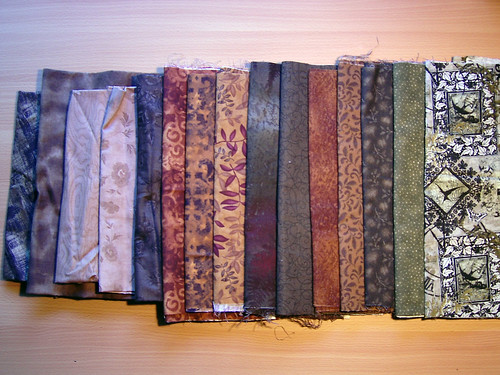
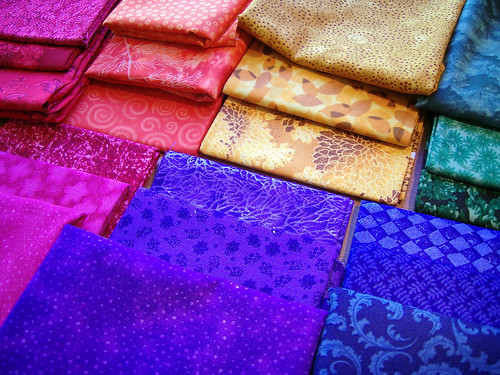
I'm aiming for this to be a true charm quilt with every hexagon fabric being different. Once I get to the end I plan to slip in one duplicate (if I don't accidentally do this in the mean time...) just like I've read should be done on charm quilts so it makes it like a hide and seek game. Here is a little history about charm quilts.

I started this quilt on August 31 2011... this is going to take a while to finish!!

Thursday, March 29, 2012

Top Done!


I got there in the end! The quilt top is together and is an almost square of approximately 47"x49". As you can see, I went with the decision to make it a square quilt instead of a rectangle like the pattern. I put the hexagons together without too much trouble though there is a little bit of a ripple in it which I am hoping will not be noticable after quilting. To bring it all together and balance the colours as well as increase the size I added strips of colour as a border using some of the left over fabric. Here it is:

Tuesday, March 27, 2012

Problem after problem...


I've had multiple troubles up to this point and just when I thought I was on track another issue. I said last time I was disappointed by the lack of instructions, well it has pulled me up again and perhaps it is partly my fault for not studying the photo and perhaps drawing my own block diagram... not that it should be necessary to do this with instructions from a book!

The first picture is the placement the blocks should have according to the book. Can you see my issue? I sewed my traingles together to form half hexagons along the flat, not the point. The entirity of the instructions you get for this part is "pin and sew the centre seam of the triangles together in spot/stripe pairs and then in sets to form six full hexagons and four half hexagons"... I guess I choose a different "centre seam" to what they did since I paired them on the upright edge, not the diagonal edge, and therefore as you can see from my half hexagons... they're not the right shape.

In addition to this I redid my blue block so that all my centre small hexagons were going the same way, with flat sides lined up to flats. Now after examining the quilt picture again I can see why I made an error on my blue block because they made the same error themselves and didn't fix it! Most of their blocks are matched flat side to flat, but the top left block which you tend to look at first is not, and they made the same mistake in the corners too where one is on point and the rest show flats. Have a look at the photo and see for yourself!! What I should have done is fussy cut my blocks so the points would be up, not the flat...

So what I have now are 6 blocks, with the central hexagon lined up so that everything is right way up only if they're positioned as per the second picture at the top there. If I line them up as per the book then the central blocks are slightly skewed... and I know it is a baby quilt, but my OCD streak still wants it to be perfect!!

At this point I'm tempted to make it square and align it so my blocks are the right way up and not like the book because I'm just not liking how it looks in my picture 2 up there with all the colour very central. That means it would end up being about 110cm square (43") and something like this...


I've been contemplating this for about an hour now (or really since last night when I discovered the issue) so I think it is time to take myself for a walk and try and decide what to do so I can get this project moving again. What would you do??

Sunday, March 25, 2012

Tricia's Discount Fabrics

I get a lot of visits for those of you looking for Tricia's Discount Fabrics from a previous post back in 2009 so I thought I'd do an update since she doesn't have a website for this wonderful store. PS. If you're listening Tricia and want to take the plunge into the web my offer to help is still open. Give me a buzz at Happy Bobbin.

This is definitely a store you want to check out! She has an absolutely jam packed store which is a true delight, but sometimes I get a little overwhelmed by the choices. I keep forgetting to photograph the store itself, but In My Neck of the Woods blog has done just that and if you want to see any of these larger, head over to her blog.


This is only a fraction of what is to offer. The warehouse style building has two huge rooms and a smaller side room filled with fabric. It is literally wall to wall and organised not only by colour, but there are seperate sections for novelty, asian inspired, historic reproductions and a full wall of batiks. Tricia is always friendly and happy to help you find what you're after if you need help. She also has many local groups and teachers using the other rooms there for classes and workshops, so ask her about that if you're interested.

Her prices range from around $16-30/m but most fabric you will find is around the $20/m mark. I've found this is generally cheaper than other quilting stores and she has such an amazing range!

Find her opposite Castle Plaza, just off South Road in Adelaide, South Australia. Her address is: Tricias Discount Fabrics, 11-13 Price St, Melrose Park, SA 5039. She is also just around the corner from a Spotlight if you wanted to kill two birds with one stone!

Her opening hours are currently mon-fri 9-5, sat 9-3, sun 11-2.

Just about every project since I found this shop in 2009 has fabric purchased from her in it. I recently purchased the gorgeous Australian animals fabric for my latest project and I'm sure a few of the other fabrics I pulled out of my stash for it came from her shop too.


You won't be disappointed by her range or her prices and it is definately worth the trip even if you are a bit further away. I have to drive about 40 minutes to get to her store, but I never come away empty handed!

Friday, March 23, 2012

Different Hexagons


I'm glad I've been having so much practice with basting and sewing tiny hexagons because it is making this project a lot easier. These are two blocks from a new quilt I've just started which I hope to get done fairly quickly for my husbands boss who is due to have a baby any time now.

The pattern is from the book Material Obsession by Kathy Doughty and Sarah Fielke and is called Three Ring Circus. The one thing I didn't like about this book is that it says it is an easy to cut pattern with a 60 degree ruler, but the method wastes a LOT of material and didn't seem very accurate at all to me. I had sewing issues and had to rejig my first hexagon to make it lie flat and on top of that the rest of the instructions are quite lacking as well.

For the second hexagon I gave up on their method and cut three 8.5x5" rectangles which I then cut in half diagonally to create my 6 triangles of each colour and these went together easily and lay nicely flat when ironed out. The great thing about the central featured hexagon is that it hides any little alignment errors you might have had with that bulky centre!! If you're wondering, the featured fabric is of Australian animals.

So while the designs in the Material Obsessions books might be nice, the instructions are lacking and cutting methods are wasteful, so have a think before you start and you can probably come up with a better way to achieve the overal look of the design in an easy manner. They're not the cheapest books either, so I'm glad I got them on sale - I bought Material Obsession and Material Obsession Two and this is the first quilt I've made from the books.

I'll show you how this one turns out when its done, or maybe give you another progress photo soon!